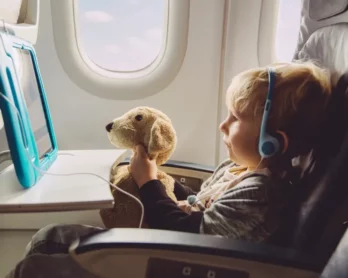

It’s perfectly normal to want to catch the highlights of the places you’re traveling and try to get the mood and sound of your trip in one awesome travel video. You can all pump the final video edit together, but when you get home and browse through the footage you’ve got nothing decent enough to make it to the final cut.
I know that can be frustrating. It has happened to me too.
So, read on and learn how to take better footage while traveling and how to bring it all together in one great travel video that captures your trip’s highlights.
PICK A STYLE
You want to focus first on the style you are after.
This very first move is important, and it will later decide what you are going to shoot and how you are going to shoot them, which angles to use, how to get the camera going, etc.
This is where you can become as creative as you like.
Maybe you’re after a travel video style GoPro editor featuring multiple perspectives shots and fast cuts. Perhaps you’re after the total opposite, and you’re looking for a beautiful movie travel video with lots of slow-motion shots and smoother transitions.
You can choose whatever you want, literally. But once you’ve figured out your travel video’s style or theme, stick to it! Be consistent and shoot every scene bearing in mind that particular style. That takes us to the next level…
PLAN THE SHOTS WITH THE IN-MIND EDITION
Take things one step further once you’ve figured out the style you’re looking for, and also picture in your mind how the final editing of your travel video would look like.
It will help you to decide which scenes are worth shooting and which ones are not worth shooting.
You will know what angles to use, how to push the camera, and then how it all blends in.
If you have trouble picturing how everything will look in your mind, one quick tip to get you into the mood is listening to a track you like with your travel video that would go well. This should set the mood pretty well.
It could also be the same soundtrack you’ll be using for your film.
FILM HORIZONTALLY
The second biggest mistake I have seen is vertical video shooting.
Do you know how we’re used to portraiting oriented holding the phone? Okay, that’s the way most people take pictures or record videos.
It might all look nice and dandy on the screen of your phone, but when you watch in on your computer or any other widescreen, you get these big black chunky bars on the side.
In post-production, there is no fix to that. Stretching the image is not a choice, because a lot of stretching will be required.
You really have the option to select a blurred version of the narrow footage’s sides. But that isn’t looking too pretty, too.
So, turn your camera about 90 degrees and start filming with a horizontal orientation. This way you’ll get that nice broad, full-screen image. Flip your camera about 90 degrees and start using horizontal direction to begin filming.
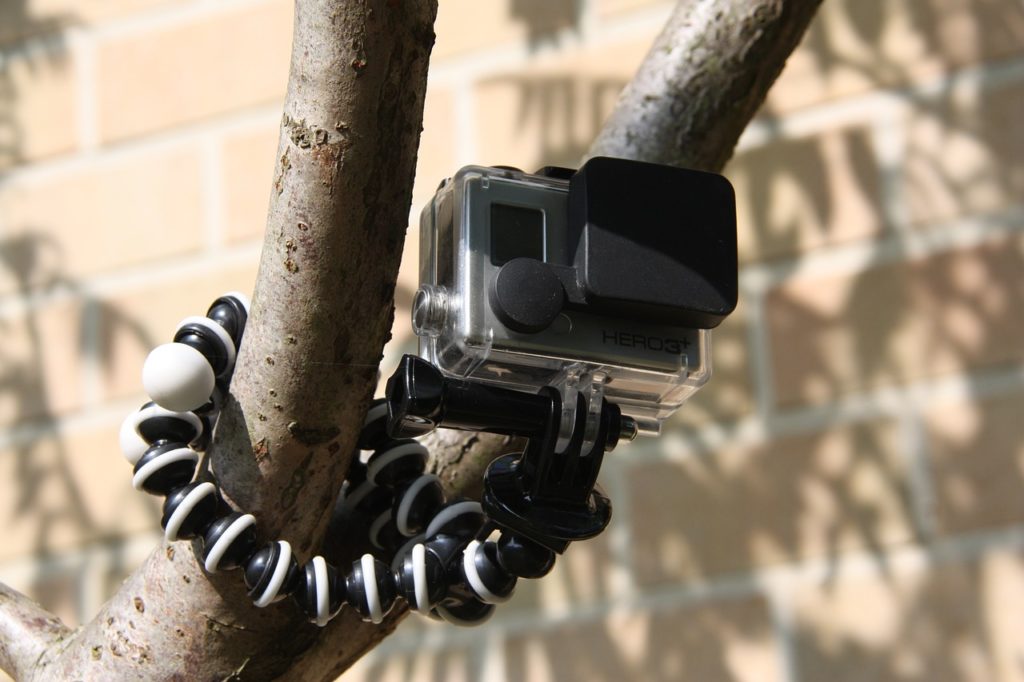
DON’T USE THE DIGITAL ZOOM
Your phone or camera will have the digital zoom in option. Don’t misuse it.
Digital zooming is highly taxing on the image quality you’ll get. The more you use, the worse the image will get.
Instead try to get closer to whatever you’re filming, or use the optical zoom as a last resort solution. Be careful, though, and any camera movement will be much amplified when you’re zooming in.
And the video will very possibly get shaky. I wouldn’t use the zoom at all unless you’re using a GoPro editor. Just as I mentioned above, if possible, try to get closer to the topic.
GOLDEN HOUR
Let’s talk about lighting a little bit.
You know that the way your videos look is significant for good lighting. No matter how efficient or costly your camera is, for everything to look good, it would be best if you had perfect light.
Fortunately, most of the time, travel videos are shot outdoors, so there will be plenty of natural light that’s good. But I have a little trick for you if you want to make your shots even better: Golden Hour.
This is a technical term used in photography and videography to measure a certain moment when the sun is in a certain position, very close to the horizon, making the light, colors and shadows appear fantastical.
You know the time of the day, either very early in the morning or just before sunset when the sky has these shades of red/orange? Essentially, that is what the golden hour is all about.
So, try taking some videos during the “golden hour” instead of recording all your shots during the day, when everything is so clear. The results are going to get so much better.
There is also a’ blue hour’ thing that happens when the sun is just below the horizon line, and the light is dimmer. You can go ahead and try to do that as well.
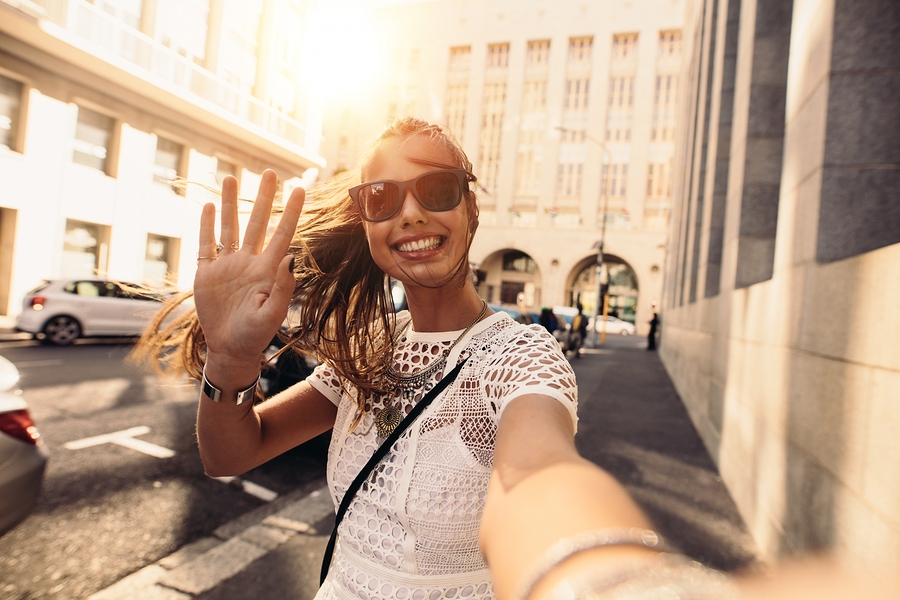
KEEP IT CANDID
Try to capture what your fellow travelers do best: being themselves. Video is incredibly powerful as it gives the viewer an insight into those moments of real life. That is what’s going to make your video unique. So, rather than herding your traveling companions to famous landmarks and making them pose for a photo, concentrate on what makes your trip unique. This approach will allow your audience to experience your trip and get to know the people you’re traveling with (or those you’re meeting along the way).
SLOW MOTION
It’s a huge “slow-motion”! In your videos, this will make a huge difference. If you can shoot slowly, then definitely try it. Most of the new smartphones are built with slow motion.
See if you can find the 120 fps for super-smooth slow-motion shots if you are using a DSLR. Or just the 60 fps at least. You may need to lower the resolution, but you should be fine as long as it’s at least 720p.
Slow-motion footage will give a more dramatic and cinematic feel to your videos, so do some play with it. It waxes on you.
CONCLUSION
So, it’s guys and gals pretty much.
Remember to pick and stick to a theme. In each shot, you take, be consistent with it.
In your head, try to picture how the final video edit would look and aim accordingly through GoPro editor.
If you use a camera, you can probably film by holding it horizontally and trying not to shake too much. Shaky footage looks kind of amateur.
Take no digital zoom. Instead, get closer to your subject or further away and take wide, medium, and narrow shots of the same scene. These will look great when you put everything together in the editing room for the video.
Chase perfect light forever. It can be the blue hour or noon, the golden hour. When required, slam on a filter and make the most out of the low light situations.


 We are all about travel and lifestyle over here at Pacific Voyagers. I’m Jen and this is my blog, although you will see a lot of posts written by my blogging dream team on topics like travel, life, beauty, home, budgeting and much more.